Grillology
How to Get Restaurant-Style Sear Marks
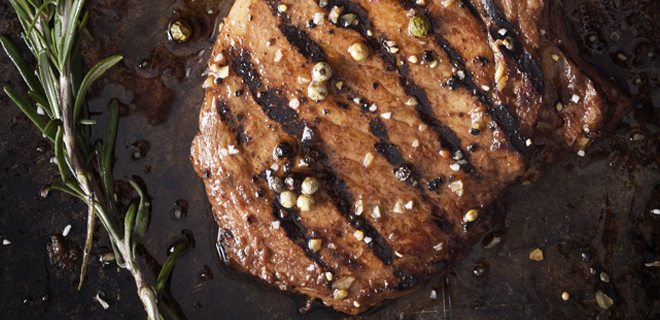
The easiest way to get picture-perfect sear marks is to start with a quality piece of meat — usually something flat and precisely cut like a sirloin steak or filet that will adhere directly to the surface of the grill. (Bones can make it difficult to get a good sear.)
Delta Heat 38” and 32” Outdoor Gas Grills come with an incredible optional feature called the Sear Zone, which allows you to sear foods faster with 25,000 BTUs of direct, intense infrared heat. This means your grill will be able to seal in the natural juices for moister, more flavorful meats, veggies, or whatever you choose to cook up. The stainless steel surface easily generates deep, dark, restaurant-style sear marks — but if you really want to up your sear game, follow these tips for mastering single-strip and cross-hatch sear marks.

Single-strip
- Place the meat in your grill’s hot zone at a 45-degree angle to the grates; this will help create diagonal sear marks. Once one or two minutes have passed, the first marks should be visible.
- Flip the meat to sear the other side.
- Once you’ve got your marks, move the meat to the cooler cooking zone to finish the grilling process.
Crosshatch
- Begin the process the same way you would for a single-strip sear, with the meat at a 45-degree angle, cooking for one to two minutes.
- Once you’ve got your first sear marks, rotate the meat to a 90 angle. Don’t flip it. This will create a cross-hatch.
- Repeat the process on the other side of the meat.
- Move the meat to the cooler zone and cook till it reaches your desired temperature.
Categories
More Blogs

Grillology
Handy Guide for Grilling Times
Read More chevron_right
Recipes
SPICE UP YOUR WINTER GRILLING MENU WITH THESE MUST-HAVE APPETIZERS
Read More chevron_right
Recipes
Thanksgiving Grilling in Your Delta Heat Outdoor Kitchen
Read More chevron_right
